Accessing Estimate Returns
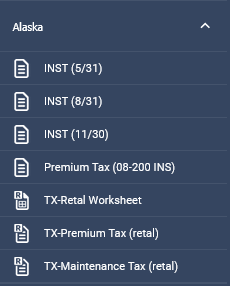
In Stratus, returns are organized by tax year. Estimate returns appear above the annual return within each jurisdiction.
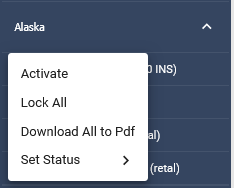
If an estimate return is not active, it can be activated by right-clicking on the jurisdiction and selecting Activate. You can then select the estimate forms you want to activate, and they will be added to the list of forms for that jurisdiction.

Zoom
A zoom control is located at the top center of the screen. Use the plus or minus signs to adjust magnification in 25% increments. From the dropdown, you can also select a specific level: 100%, 125%, 150%, 175%, or 200%. The selected magnification will apply to all forms.

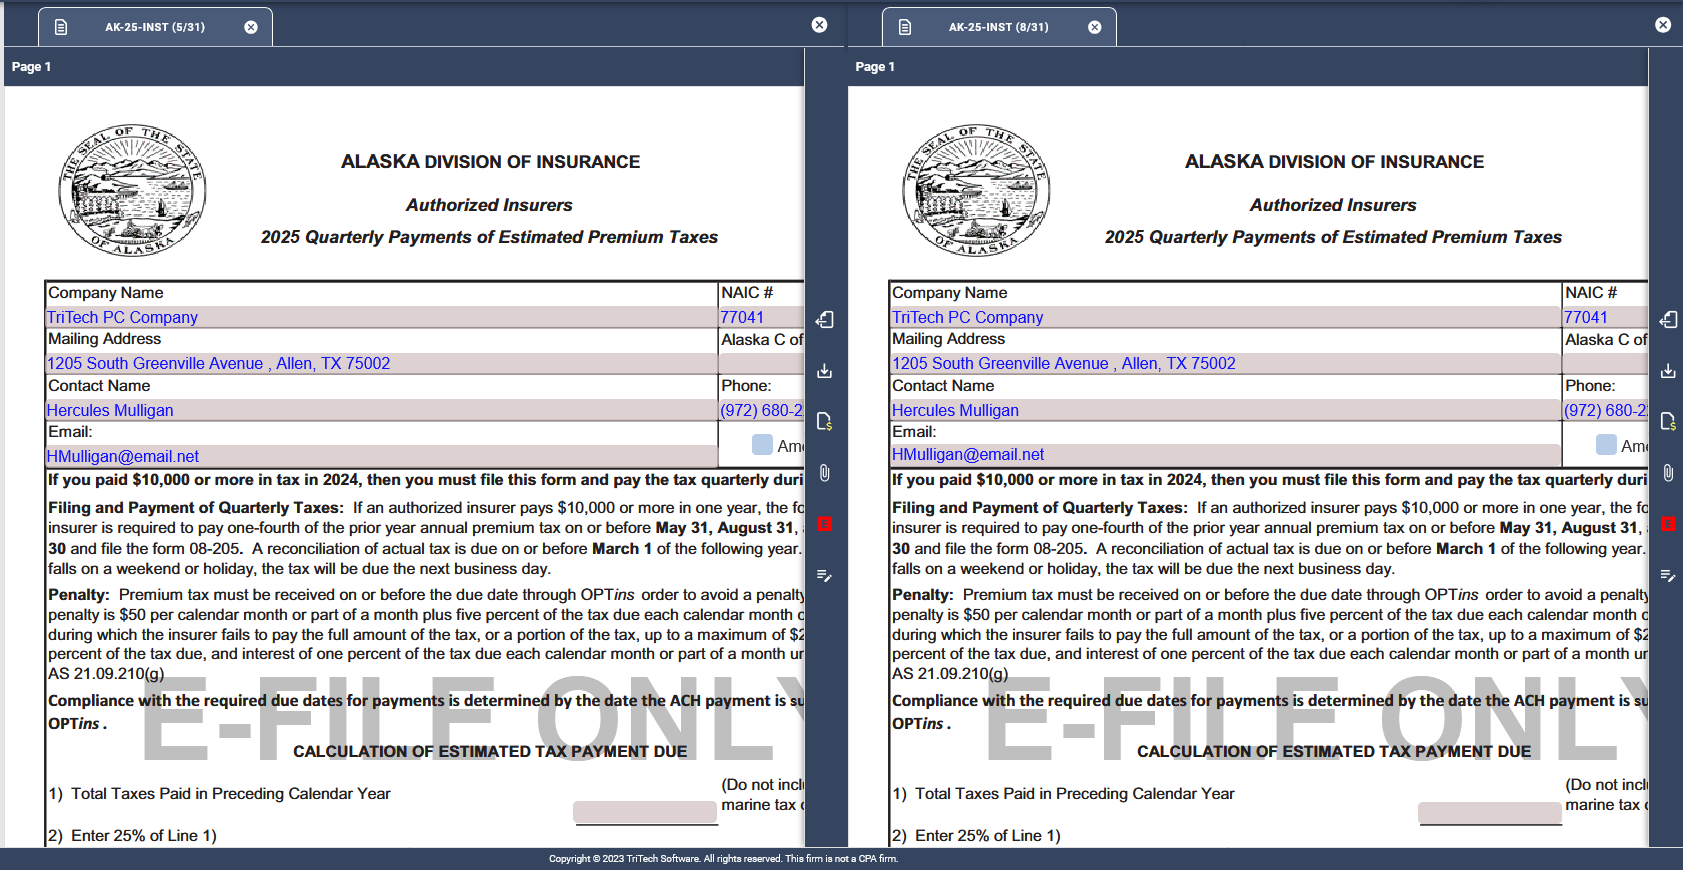
Form Tabs
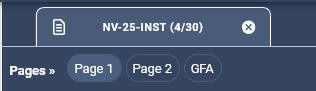
When a form is opened, a tab appears above it displaying the form name. Each open form has its own tab and can be closed individually. If you wish to close a return, you can click on the “x” to the right of the form name. To close all open forms at once, click the “X” at the far right of the tab row.
Hovering over a tab displays additional form details, including the state, tax year, company name, and form name.
If multiple forms are open, you can view two at once by right-clicking a form tab and selecting Open in Split Screen.
Pages
Below the form tab, all pages are listed horizontally. If there are more pages than can fit in a single line, they will wrap to an additional line.
Open Prior Year’s Return
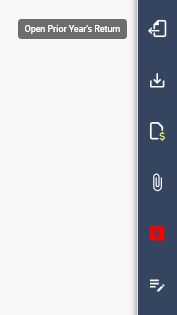
If the current return was activated in the prior year, the Open Prior Year’s Return icon will appear in the vertical icon list on the far right. Selecting it opens the prior-year return. Prior-year forms display with a yellow form name, while current-year forms display in white.
Viewing Multiple Returns
You may view multiple schedules, returns, or reports at the same time within the software. When more than one item is open, right-click on the tab of the item you would like to view and select Open in Split Screen.
To close the split screen view, close one of the open items.

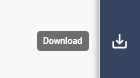
Download
The Download button, located in the vertical icon list on the far right, generates a PDF of all pages in the active form. The PDF opens in a new browser tab, and a copy is saved in the workstation’s Downloads folder.
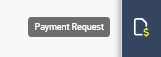
Payment Request
If the active form includes a potential payment, the Payment Request icon will be available in the vertical icon list. Any edits made here are automatically reflected in the Payment Request Schedule within the Summary Schedules folder on the tree.
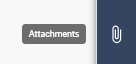
Attachments
The Attachments icon in the vertical icon bar opens a window for attaching external files to the return.
The top of the window lists all possible state-specified attachments. Required attachments are marked with an asterisk (*). Some are conditionally required based on return data.
To attach a required file, click the cloud icon next to the attachment name and select your file. The file name will appear in the File Name column.
- To attach a non-specified file, click the paper clip in the center of the window or drag and drop a file onto it. These attachments appear at the end of the list and can be deleted using the trash icon.
Notes
Notes can be added to a return or to a specific field on a return. To add a note to a specific field, hover over a field to display the plus-sign icon and then click that icon to open the notes panel on the right. Enter your text and click the checkmark to save. Each note can be edited or deleted by clicking the respective pencil or trash can icon.
Notes will include information about the user, date, and time it was created.
Web Login
For states with online filing systems, the Web Login icon appears in the vertical icon list. Clicking it opens the state’s website in a new browser tab and automatically transfers the username and password you have entered in the Login Schedule.